I love doing children's birthday cakes. They have been the real impetus for pushing my cake decorating skills. And what is more idyllic than a Disney themed cake and Cinderella's Carriage on top of that!
My first big decorating milestone was a 3 tier topsy turvy Winnie The Pooh cake.
It was a mess. An adorable mess, but a mess none the less. The kids didn't seem to mind but I had gone too far. I put too much pressure on myself. I baked a shape I'd never dealt with, made a design that was beyond my skill set and covered a cake in fondant for the first time. Oh, and I made my own fondant too.
It wasn't a total disaster and I look back on that cake with pride but I was so stressed that it took all the joy out of it.
So, I've learnt my lesson.
Yeah.....No, I haven't. I'm making a cake for a little lady turning 1. It's a Cinderella themed party and I'm making the pumpkin carriage. Yeah. 3 Years after the leaning tower of Pooh, I'm making a pumpkin carriage to take Cinderella to the ball.
I suppose all cake decorators like to think of themselves as fairy godmothers but not all of us have magic. Some of us just have ambition and Gin. Lot's of Gin.
I took my inspiration from the internet and planned on making this beauty.

I can find this picture online, and on Pinterest but I cannot, for the life of me find the original website.
So I'll take this opportunity to say that the original baker, whoever you are, you are a real Fairy Godmother.
And if anyone knows who made this originally, let me know. I'll be more than happy to credit them!
I also watched an instructional video on YouTube for a different Cinderella Carriage Cake and that was fab! I do love going on cake decorating classes but honestly, the internet has everything you need to know!
As hard as I might try, I knew I wasn't going to be able to faithfully recreate this Cinderella Carriage Cake. Certainly not as a first try. So, an homage was the only way to go!
Decoration Preparation
I thought I'd start with the easy stuff. Covering the cake board and making the 'invisible' raised base, so the carriage looks like it is supported on the wheels.
I bought a cheap cobbles stone mould online as I couldn't really see myself using one regularly enough to warrant spending money on a big mat or patterned rolling pin. What I got was this.
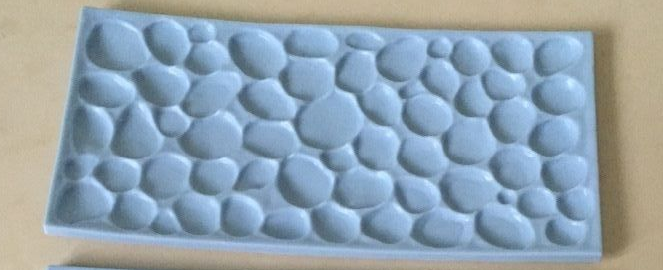
Actually, the cobbles themselves look great, it's the rectangle edges I'm not a big fan of. I did cover the board first and then press the mould on top. Perhaps if I'd taken more time I could have done something different. It just occurred to me while I was writing this that I could have cut back the edges of the rectangle and perhaps there would have been less of an impression - we're all learning here, so I'll know if I ever need to do it again.

Despite that, I think the base actually turned out quite cute. I didn't fully mix the black into the white fondant. Subtle marbling might add some 'realism' to the cobbled street as cobblestones are never a uniform colour.
I didn't add any Tylose to this fondant as I knew I had a few days for this to dry. Then I made some Marshmallow Rice Krispy treats in a circle cookie cutter and covered that in a strip of the grey fondant embossed with cobble stones. That was my secret floating base.

I then set about making some of the decorative details. I did put Tylo in with my fondant this time, to make gum paste. The leaves especially, I wanted to set in certain shapes, with curled edges and so on.
The wheels were not a roaring success it must be said. I used an extruder to run out a length of the blue fondant used for the main cake covering and hand rolled a thicker string for the outside. Using a glass as a guide I formed the external ring, cut a small disk out and put it in the centre to 'hold' the spiral in place.
I used a little water for glue and coiled the thinner string inside. It actually looked fine, but it just didn't harden. I left it for a day and I did use tylo powder but it clearly wasn't enough and I just ran out of time. I think, because I was using Marshmallow Fondant, the marshmallow just wouldn't allow it to firm up as fast. Lesson learned.
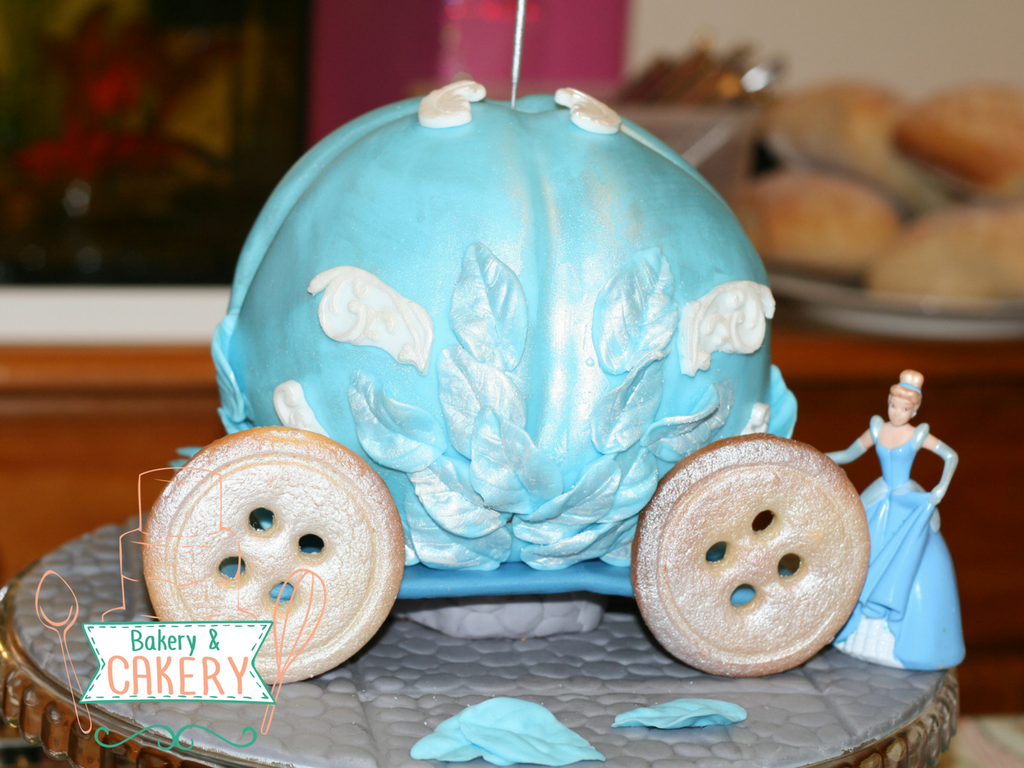
So I had no wheels. You can't have a carriage without wheels. I improvised and snagged a couple of Button Biscuits and ran with it. They are adorable. Not what I planned, but adorable.
Time to bake.
I was baking in 6inch hemisphere pans. I made my favourite chocolate cake in one-half and a vanilla Madeira in the other. Once baked and cooled I turned them out, torted them into 3 layers and stacked them in alternating flavours with vanilla Swiss Meringue buttercream in between.

I then crumb coated the whole thing in milk chocolate ganache. I was hoping that this would set firm and protect the spherical shape.
It actually worked well and I smoothed the curves (after this photo was taken) with some handy little flexible ganache smoothers I got from CakeyBake.
I used them on the mini-sphere class I did with her. So I saw no reason they wouldn't work on a big one. It panned out well, but I wasn't ultimately happy with the shape - it wasn't quite spherical enough.
Cover That Cake
I didn't make my own fondant this time around as I figured I had enough to be getting on with. So I bought some Karen Davis MMF at Cake International earlier that month as was eager to try it out. So I coloured it and gave it a whirl.

I have to say, it tastes delicious and coloured well. It didn't tear and the finish was really nice. I'll definitely be using this again!

Once covered I pushed a ball tool into the top to make an indent and then ran 4 lines down the sides, dividing the cake into quarters to get that pumpkin shape. I realised too late into decorating that I should have been applying my decorations to one of the quarter segments, not over one of the indented lines. That'll teach me not to recheck the design.
Time To Decorate
I then brushed the cake all over with a silver lustre dust and alcohol combo. This didn't really work out either. I'm not sure what I did wrong, maybe the mixture was the wrong consistency or it was a bad lustre dust? If I could do it again I'd just use that spray silver in a can, or an airbrush (if I had one).
I was going for an even all-over silver glisten that would make the cake look glass-ish like it is in the film. But it looks patchy and I'm not really happy with it.
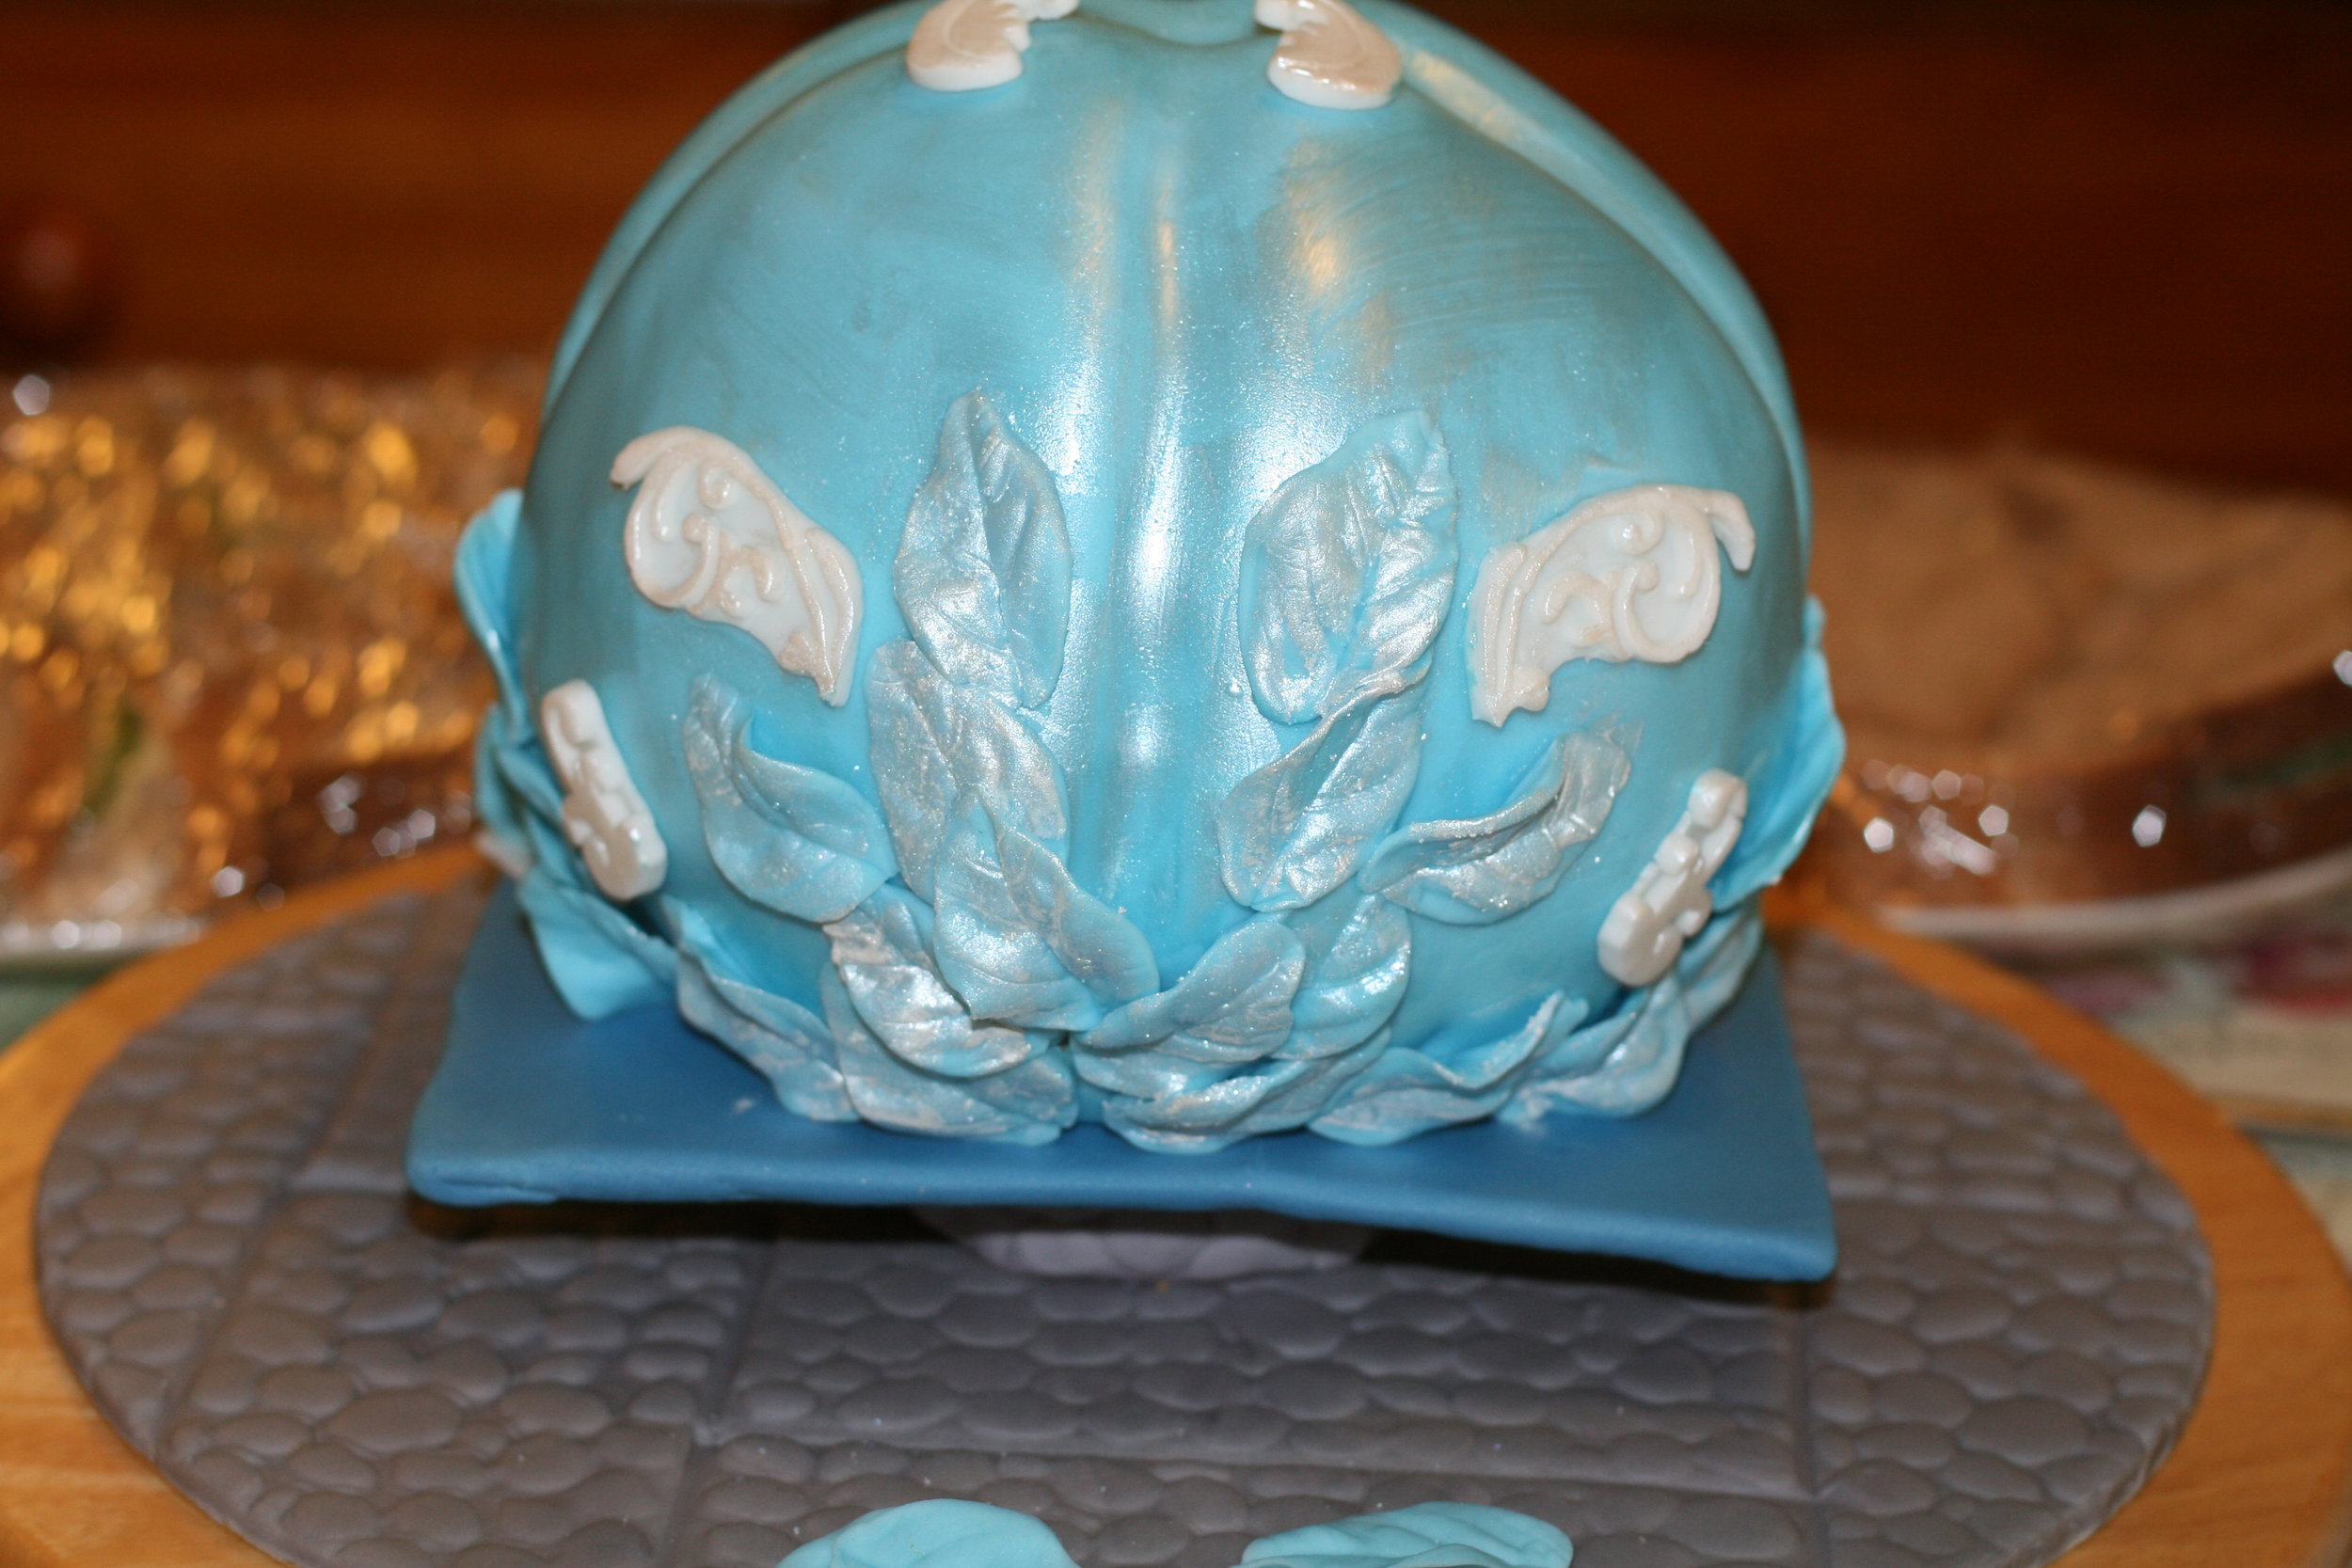
Then I started hand painting the decorations silver. I was still sticking them on as party guests were arriving. So not so organised after all. But everyone was very gracious and complimentary and it was yummy!

Ultimately this was great fun and looked cool. And in all honesty I won't have learned my lesson. Watch this space for future overly ambition design choices and more mistakes made from good intentions.
Cinderella Carriage Cake
Quick get Cinders to the ball! Here's the finished product